Free · Read online · Print what you need

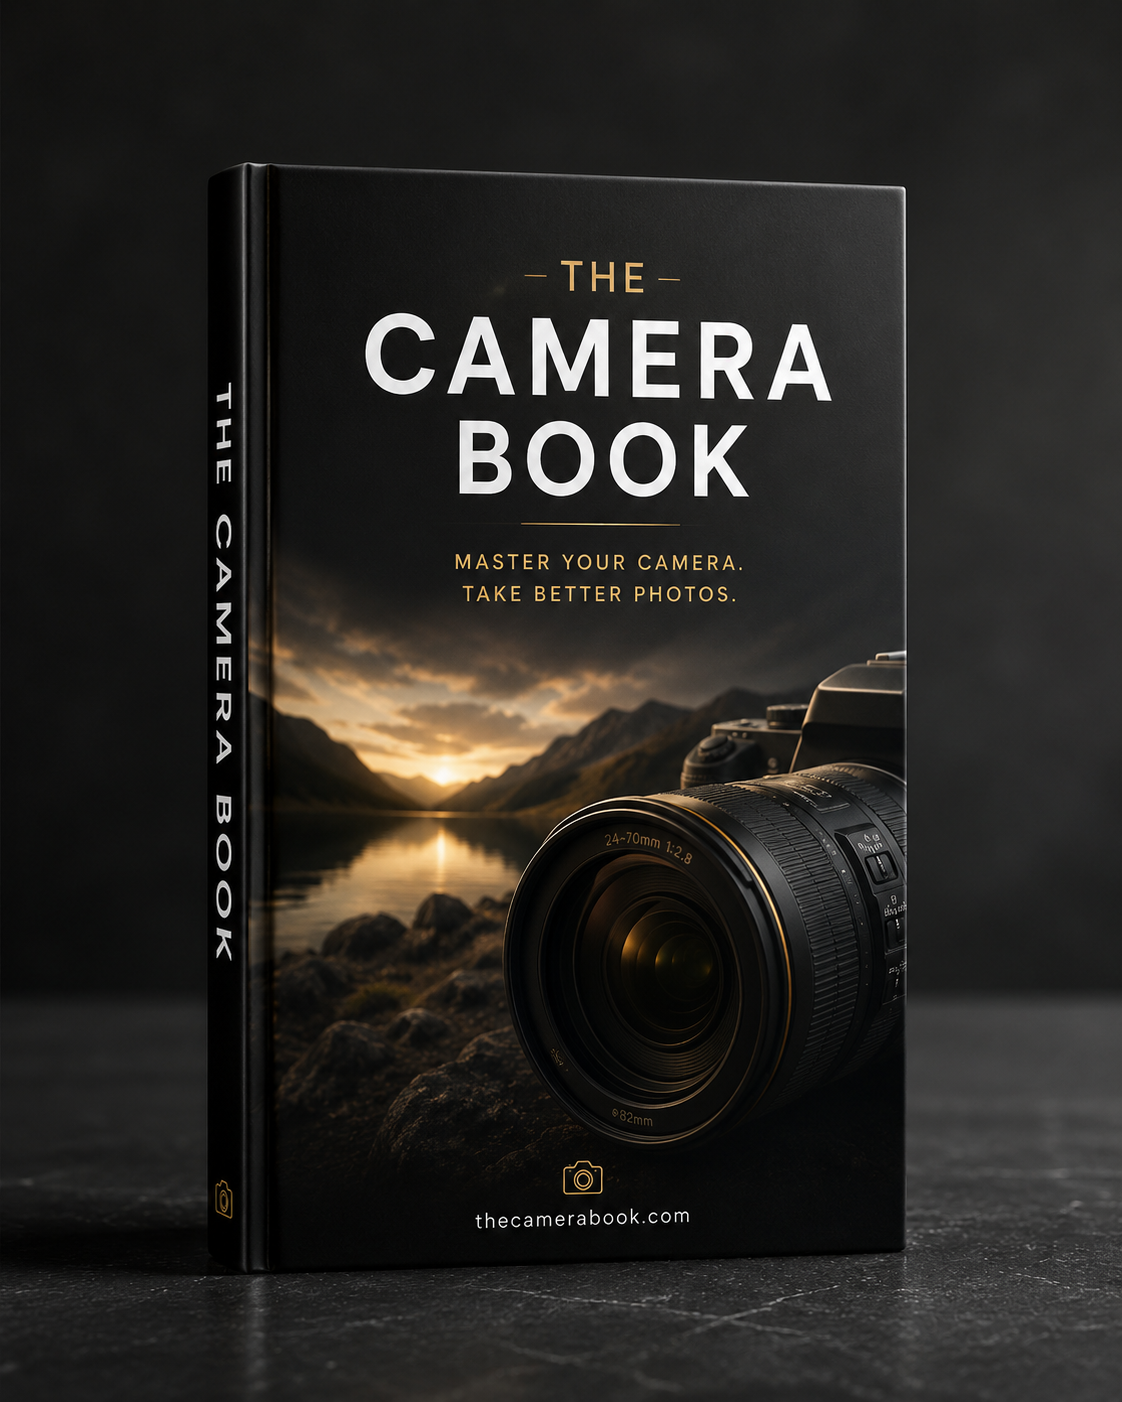
The Camera Book

A free book that explains your camera in plain words. No jargon, no lectures. Read it online, download it, or print only the pages you need.

Free, and it stays free. Already registered?

Read chapter 1 free

First day: unbox, charge, set up

About 3 minutes

Twenty minutes now saves you a lost weekend later. Do these in order.

1. Charge the battery fully

New batteries ship partly charged. Put it on the charger (or plug the camera in via USB-C, if the manual says the body charges that way) and leave it until the light goes green or steady. While it charges, do steps 2–4.

2. Attach the lens

Find the alignment mark on the lens (usually a white or red dot) and the matching mark on the camera mount. Line them up, seat the lens gently, and turn it until it clicks — on most brands that's clockwise as you look at the front of the camera; check the mark direction. Never force it. Remove the rear lens cap and the body cap first and put them together in the box so they don't get lost.

3. Insert the memory card — and format it

Cards go in the slot near the battery or on the side, label facing the back of the camera on most bodies. Then format the card in the camera (Setup menu → Format). Formatting wipes the card and builds the folder structure this camera expects. Do this with every new card and every time you move a card between cameras. Don't delete photos by plugging the card into a computer and dragging files to the trash — that leaves fragments and eventually causes errors.

4. Fit the strap

Thread it through the lug, back through the buckle, then through the plastic keeper. Pull hard to test it. A camera on the floor is the most common first-week accident.

5. First power-on: date, time, language

The camera will ask. Set them correctly — the date gets written into every photo file and is what your phone/computer uses to sort them. Set the time zone too if it asks; it matters if you travel.

6. Five settings to change before you shoot

Setting

Set it to

Why

Image quality

RAW + JPEG (or just RAW)

RAW keeps every bit of data so you can fix mistakes later. See Ch. 13.

Auto power-off

2–5 minutes

Saves battery; short enough not to annoy you.

Image review

2 seconds or off

Constant playback drains battery and makes you miss the next shot.

Beep / AF sound

Off

Quieter, less distracting, doesn't scare pets/kids.

Copyright / owner name

Your name

Embedded in every file. Helps if a card goes missing.

7. Take the lens cap off and take a photo of

anything

Seriously. Mode dial to AUTO, half-press the shutter button until it beeps or a box turns green, then press fully. Look at it on the back screen. That's the whole loop — everything in this book just gives you more control over it.

The rest of the book

Register with the camera you own and read the whole thing. It takes about a minute.

Part 1 — Getting started

  • 02DSLR vs. mirrorless — what's actually different
  • 03Know your camera: parts and controls
  • 04Holding, focusing, and taking the shot

Part 2 — The three settings that matter

  • 05The exposure triangle
  • 06Shooting modes: which dial position, when
  • 07Aperture (the f-number)
  • 08Shutter speed
  • 09ISO
  • 10Focus: getting sharp where it counts
  • 11Metering & exposure compensation
  • 12White balance (why photos go orange or blue)
  • 13RAW vs. JPEG and image-quality settings
  • 14Lenses: focal length, zoom vs. prime, crop factor
  • 15Composition: five rules worth knowing
  • 16Light: the thing you're actually photographing

Part 3 — Cheat sheets by situation

  • 17What are you trying to photograph? — 14 situation cards

Part 4 — After the shot

  • 18Getting photos off the camera (and keeping them safe)
  • 19Basic editing in 10 minutes
  • 20Care, cleaning and storage
  • 21Troubleshooting: “why does my photo look like this?”
  • 22The 30-day challenge

Part 5 — Brand quick-reference

  • 23Brand quick-reference

Also inside

  • Glossary
  • Accessory checklist
  • The short version